So there was a problem, and the likely culprit (having dealt with this before), was a couple of busted main fairing brackets. I could've taken things to the stealership for them to replace them, but that task, with all the labor included, runs into the hundreds of dollars. No thanks.
Introducing a fantastic little fix kit that Zig discovered on-line. This thing retails for $40 and was in my hands within a week of ordering it. Sweet! And the length of time to install? A paltry few minutes per side. It'll probably take me longer to do this writeup than it did to do the fix!
First up, remove the fairing and look for the offending breaks. Yep, sure enough; broken just where expected.

Some of you may be thinking; you bought a repair kit without having checked to make sure that was the problem? Well...yes, but like I said; I've dealt witht broken fairing brackets before. This is a very common problem (which Harley still seems unwilling to address via stronger brackets). Additionally, the symptoms of this problem are very tell-tale, so while I hadn't bothered to check first, I was quite confident that this was the problem. And even if it wasnt? Well, there was a 100% chance that they would have broken at some point, anyway.
Here we have the wonderful repair kit. Two metal braces, 6 nut and bolt assemblies, and they even toss in the correct sized carbon drill bit. How cool is that?

The next step is to remove the bolt holding what was the top of the bracket, but which now is nothing more than a flat piece of metal, which gets discarded.
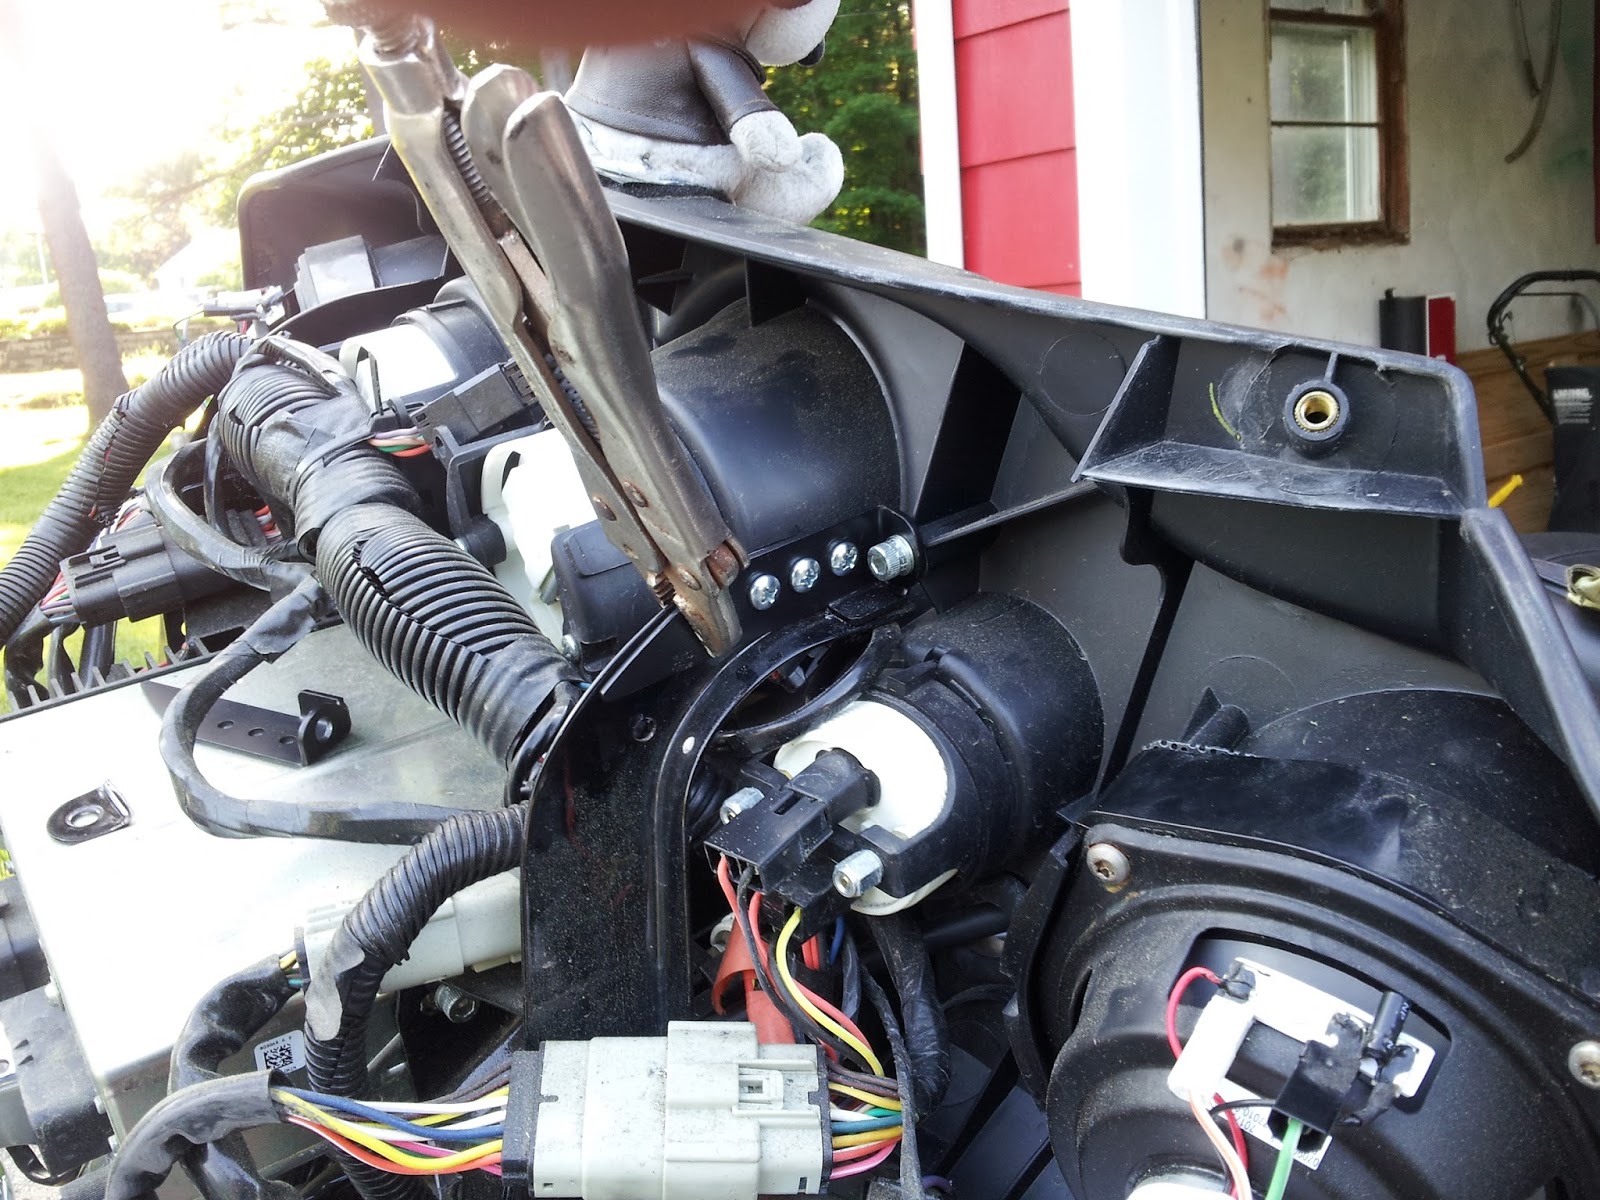
Making sure you have the correct piece for the correct side (it's not hard, they only fit in one way), you line up the hole in the repair piece with the bolt hole in the fairing and start the mounting bolt, tightening it down to just-touching, but not tight. Squeeze the fairing bracket and kit piece together, then clamp them in place with some vice grips.

Next, drill out the three holes, being very careful to ease up on your pressure just as you're about to come through. You don't want that drill bit punching through anything else inside here.

Then; the three nuts/bolts, finish tightening the mounting bolt, and ta da! You're done (on this side).
Repeat the steps for the other side, bolt the fairing front back into place, and you're good to go. The fairing is braced nice and stiffly again, and Snoopy is a happy camper.
Ride Hard, Get Braced

No comments:
Post a Comment