But that was as far as I got…
Fast forward to ‘now’. I figured since I was already painting the bedrooms over, I might as well go ahead and put those new doors on while I’m at it. So the first thing we need is…doors!

I love the grain in these and it’s a shame to paint over them, but the folks who owned this house before I did set the stage by painting just about all of the wood in here, and it’s easier to paint over, than replace. So anyway, moving along.
The first step is to scribe the hinge locations onto the new doors. Wait, scratch that. The first step was to buy the new doors. Ok; “check”, I’ve got the doors. Oh, and the hardware, too. Yes, I have the new hinges and door handles as well. Ok, now we can scribe the…wait, I have to take the old doors off. Ok, they’re off. NOW can we scribe the…what’s that? Oh, right; I had to rip the new doors to the correct width and height as the doors they were replacing. Ok…I think we’re ready. Are we ready? Yes? Ok, good. Where was I…oh, right; I had to scribe the hinge locations onto the new doors, using the old doors as a template. (And yes, I know some of the pics are blurry, but you get the idea.)
A hammer and wood chisel make short work of things. Gotta make sure you pay attention to the depth, can’t go too deep or you’re screwed.

Then we check the fitment to make sure things are good. Height is good, depth is nice and flush – things are looking good.
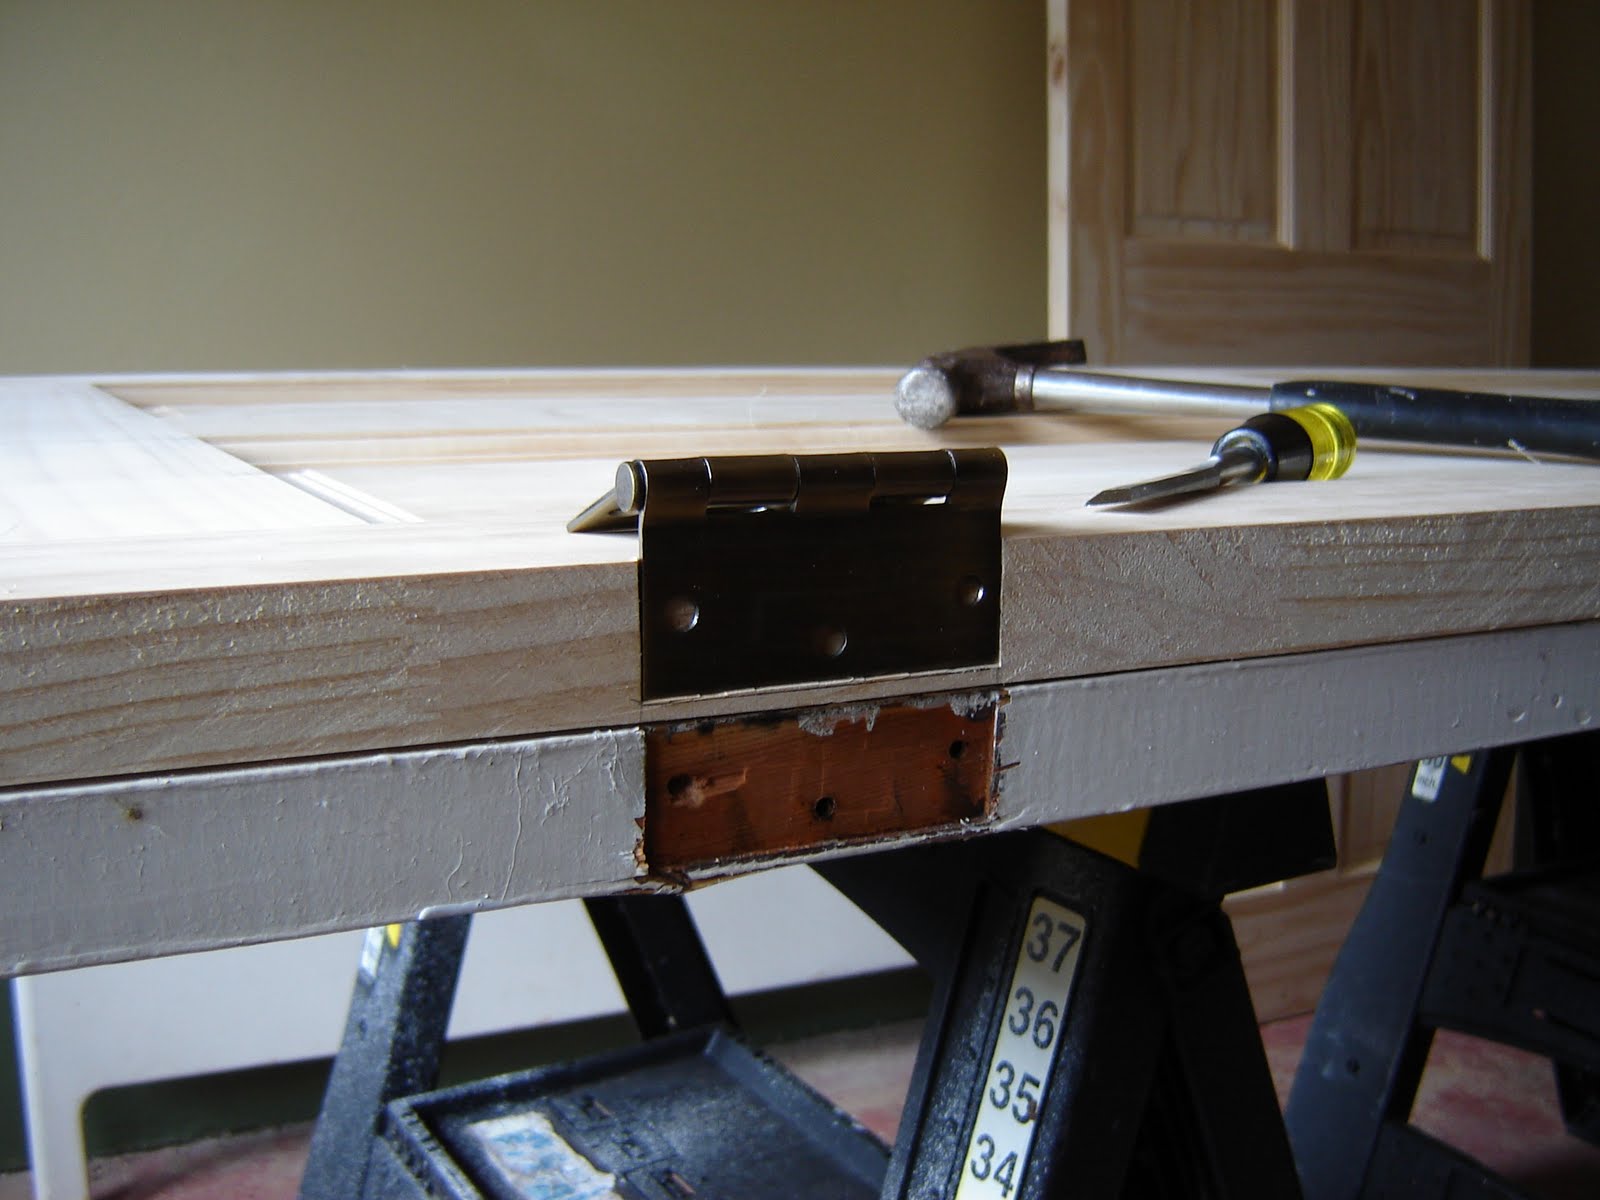
Now we mount (?!?!) the doors into the frames and check for fitment, there. Again; things are looking good.

Next step is to cut in the hole for the handle spindle. Careful with this! You don’t get a second chance if you measure wrong… (I’m going to stick with the existing strikeplates in the doorframes.)

Then the hole for the deadlatch…

Now have to mark and chisel out for the face plate…

Now things are ready for painting! A few benches set up, some ultra bright white interior paint, and we’re off and running…

The painting took a while, as each door had to be painted on one side, then let dry, then painted again, then flipped and painted once, let dry, then painted again. But I think the end result was well worth the effort. Here’s a look at the front spare bedroom…

…and here’s looking down the hallway at both new doors. Regal, I tell ya, Regal!

So there you have it; the door project.
Now then, what to move on to…well, the bedrooms look pretty sharp with their new paint, I should probably get some pics of those up here...

No comments:
Post a Comment