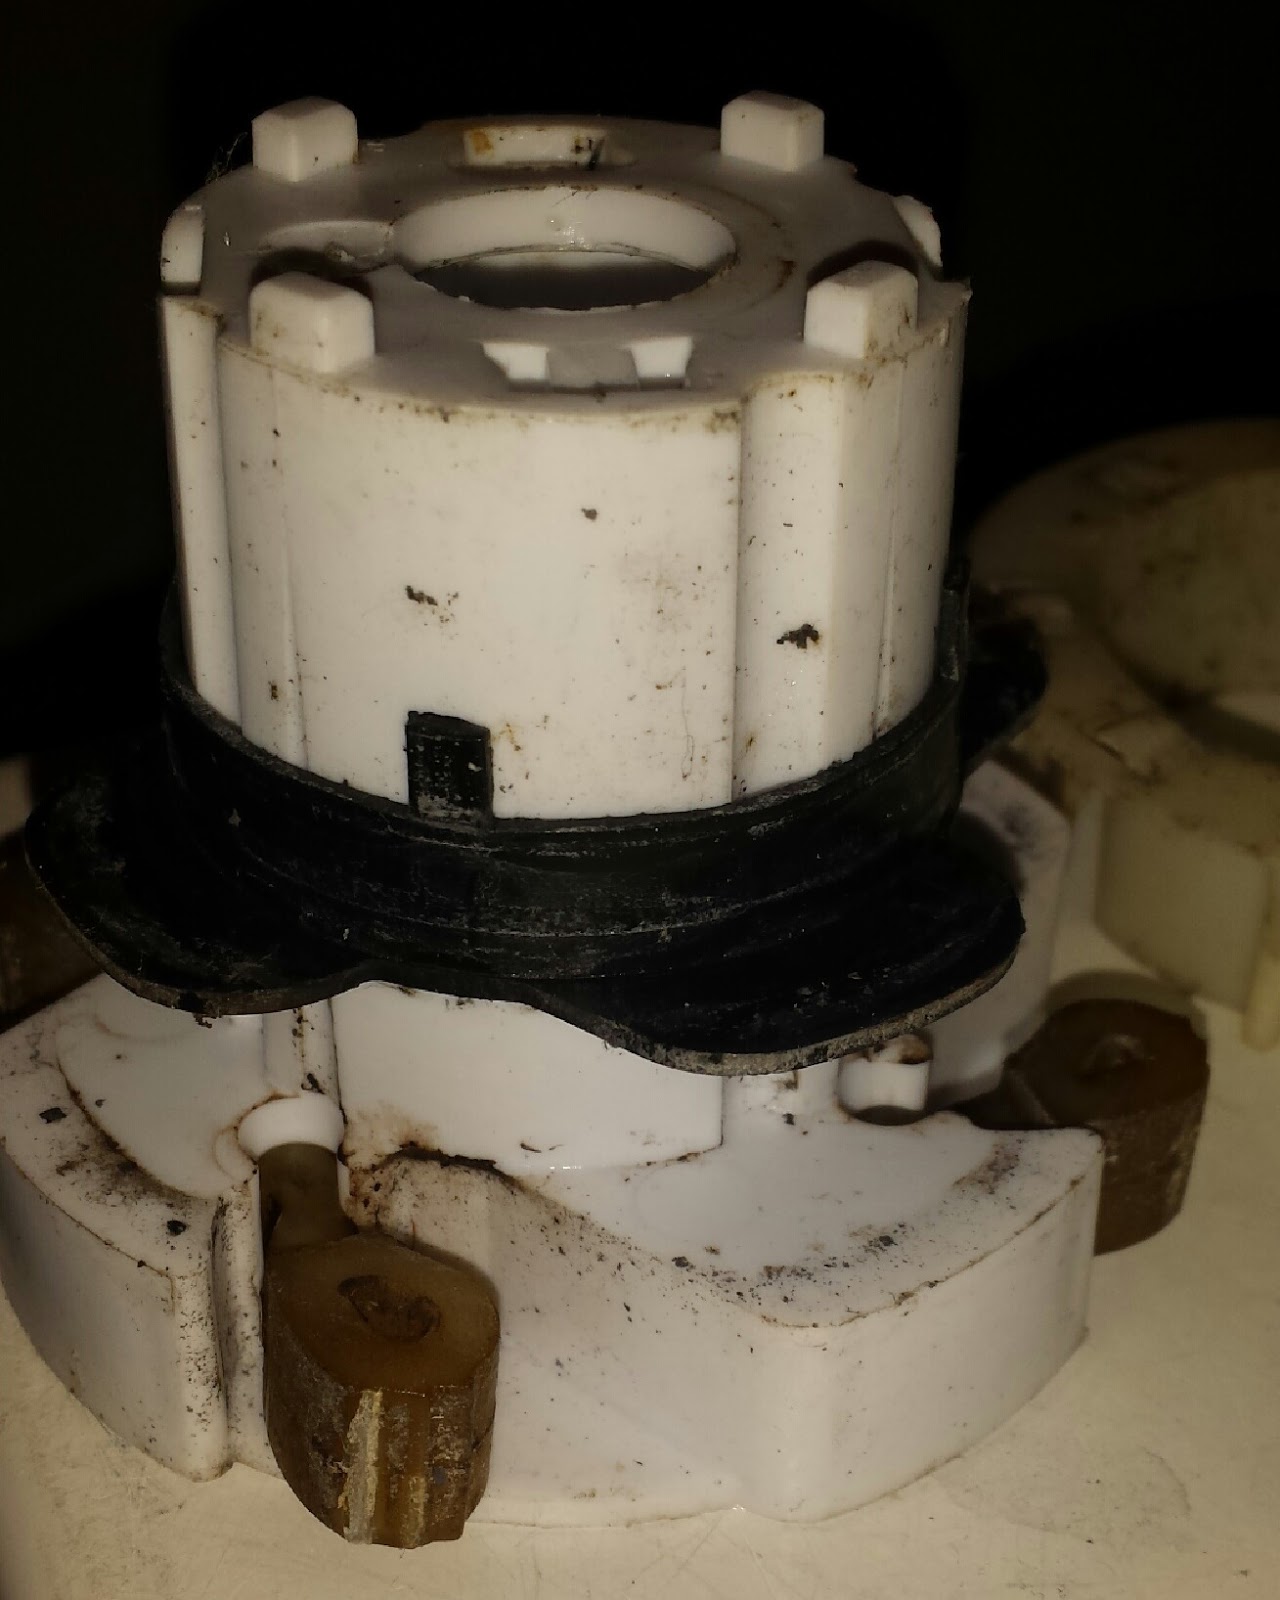
First up; here's the agitator with the top section pulled off (it just snaps on, and lifts off easily). Inside, you can see the top of the cam assembly.

Here's a closeup. Man, look at that nasty gunk buildup! (You can see just the tips of the dogs; they're the brown things sticking out from the cam and (trying to) grab the teeth on the outer wall.)

A 7/16 socket with an extension, and the bolt comes out easily.

Lifting the whole agitator out, simply stand on the base and gently pull to lift up the middle section. There's a round ratainer/gasket which sits between the sections, and drops out when you separate them, and the cam assembly just lifts right out of the top part.

Lift off the black plastic retainer on the cam (I thought it was snap-locked in place but it wasn't. Just had to pry it up and then lift off.)..
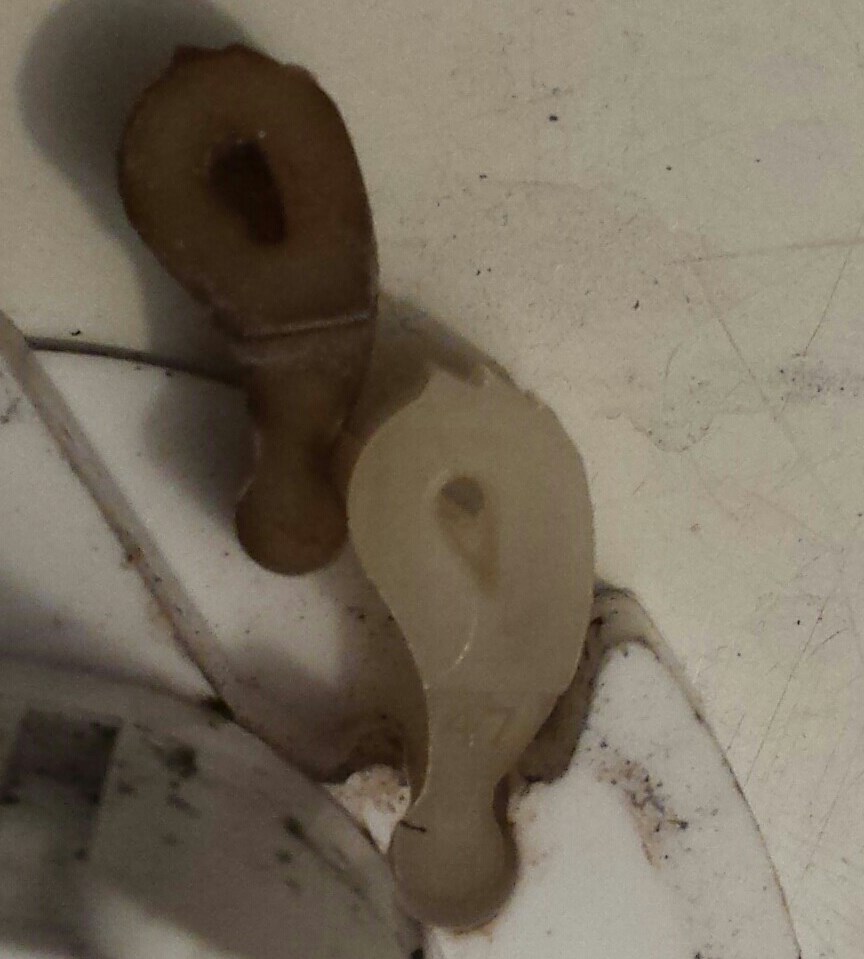
Here's the new dogs compared to the old ones. There doesn't look like a lot of difference but trust me; this was the problem.
I decided to clean things up before putting everything back together. A sink full of bleach and scalding hot water, a bit of elbow grease, and things were showroom shiny! (The agitator base isn't in the pic, but it got the same thorough scrubbing as the rest of the components did.)

Reassembly was easy - just had to make sure to line up some slots on the cam body with the matching splines on the bottom section of the agitator, and voila! The new dogs grab the agitator wall perfectly - I'm back in business!
Guess this means I should start catching up on laundry now...

No comments:
Post a Comment